

This post contains affiliate links. If you buy through them, Mxralis may earn a small commission at no extra cost to you. See our Affiliate Disclosure.
Natural makeup is the art of looking like you simply woke up that way: even skin, bright eyes, healthy lips, and no visible effort anywhere. It is also the look most of us actually want on a weekday, for work, for errands, for every photo that is not a special occasion. That makes it worth learning properly, instead of just using less of your usual full-face routine and hoping for the best.
Once you understand how to do natural makeup in the right order, the whole thing takes about ten minutes and a handful of products you probably already own. The secrets are sheer layers, cream textures that melt into the skin instead of sitting on it, and stopping one step earlier than you think you should. Here are the seven steps.
Steps
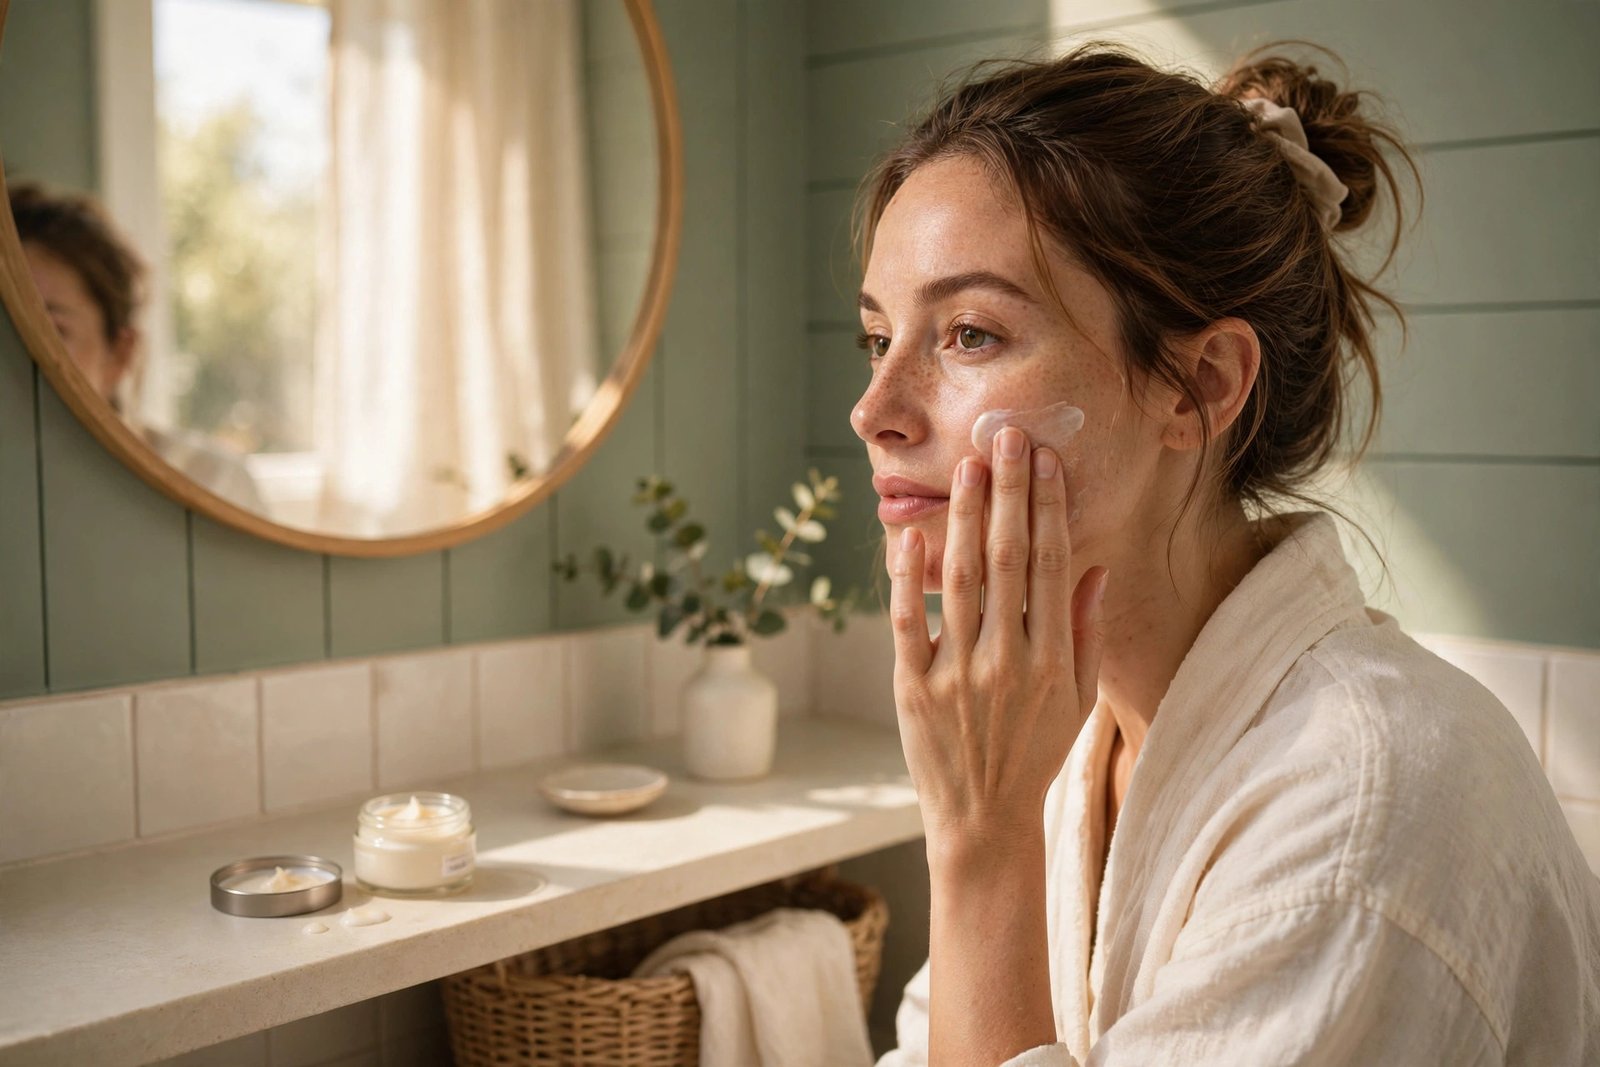
1. Start with skincare and sunscreen
Natural makeup begins before makeup, with hydrated skin and a layer of SPF. Foundation of any kind looks heavy on dry, flaky skin and nearly invisible on skin that is moisturized and comfortable. Do your usual morning cleanse and moisturizer, then apply sunscreen and give it a few minutes to settle while you get dressed or make coffee. If your skin is oily, choose a lighter moisturizer so you are not layering richness under your base. This step is also your glow: that fresh, lit-from-within look people chase with highlighter mostly comes from skin that is properly hydrated underneath. Skip the heavy primer routines today; good skincare is the primer for this look.
2. Prime only where you truly need it
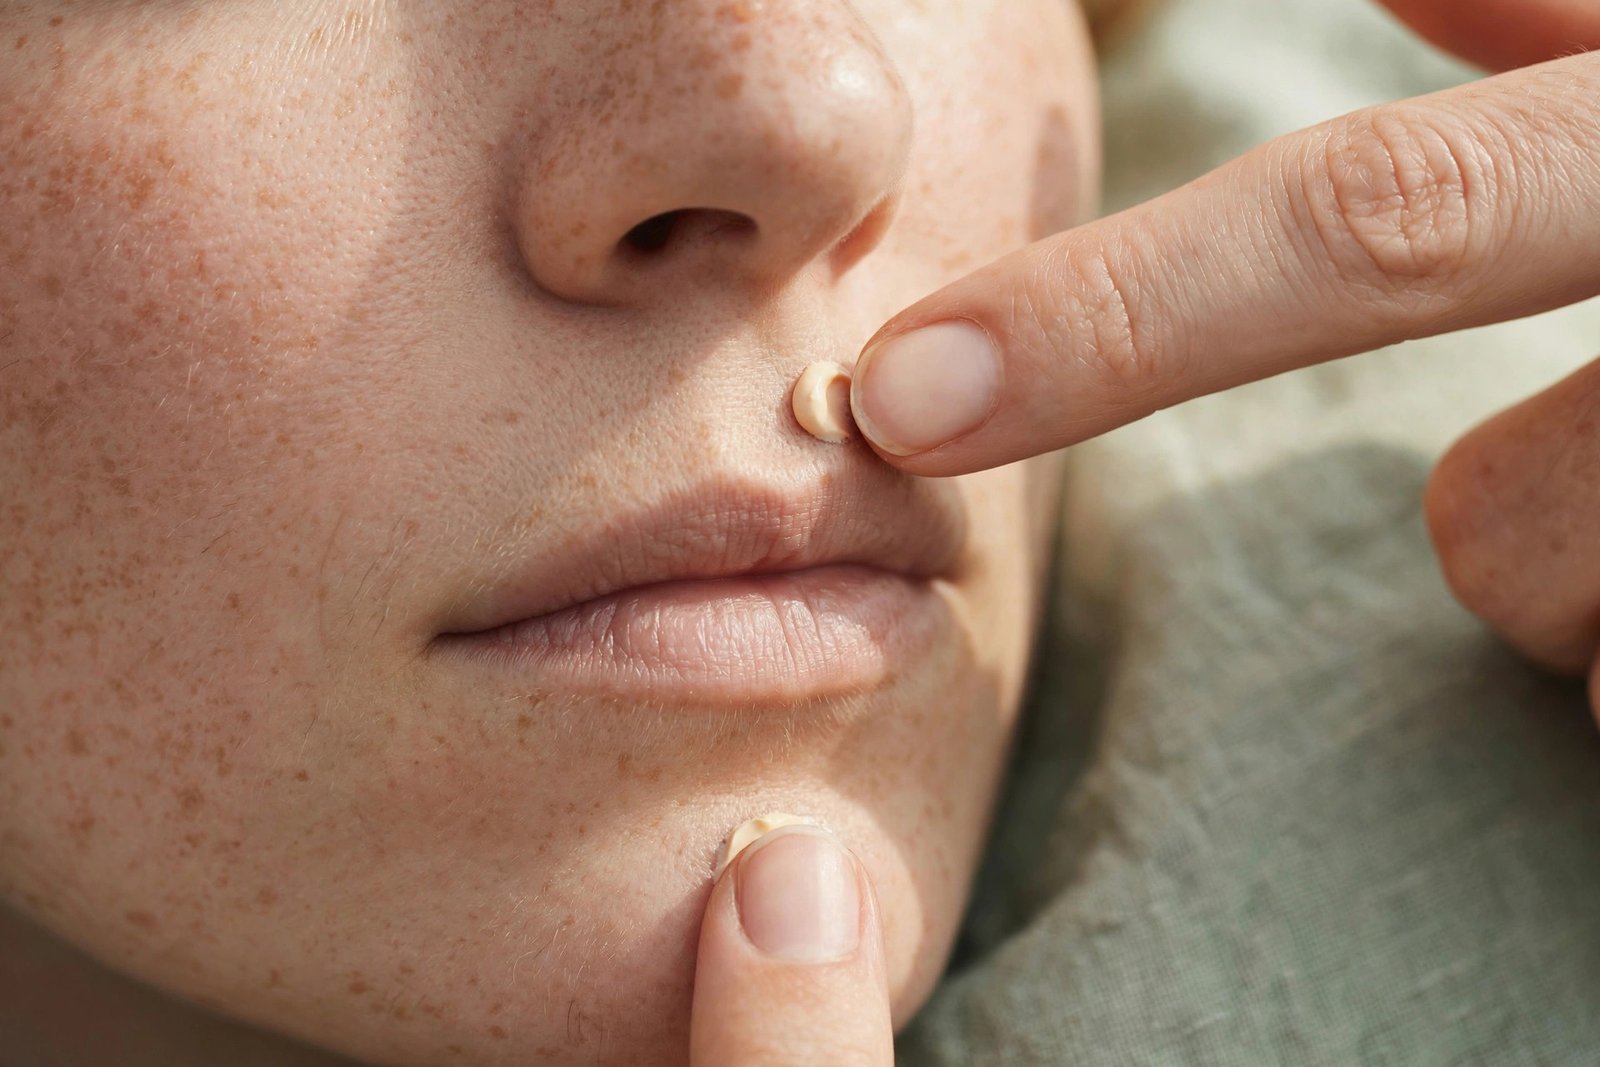
A dot of primer in the right places beats a full face of it everywhere. If your makeup disappears into the pores on your nose and chin, press a tiny amount of blurring primer just there. If your eyelids turn shadow into a crease by noon, a thin layer of eye primer will hold things in place. Everywhere else, your moisturizer and sunscreen are enough. This targeted approach keeps the skin looking like skin, which is the entire point of the look. It also makes the routine faster and cheaper, since a small tube used in two small zones lasts for months. Look at your face honestly and prime the problems, not the whole canvas.
3. Smooth on a sheer base
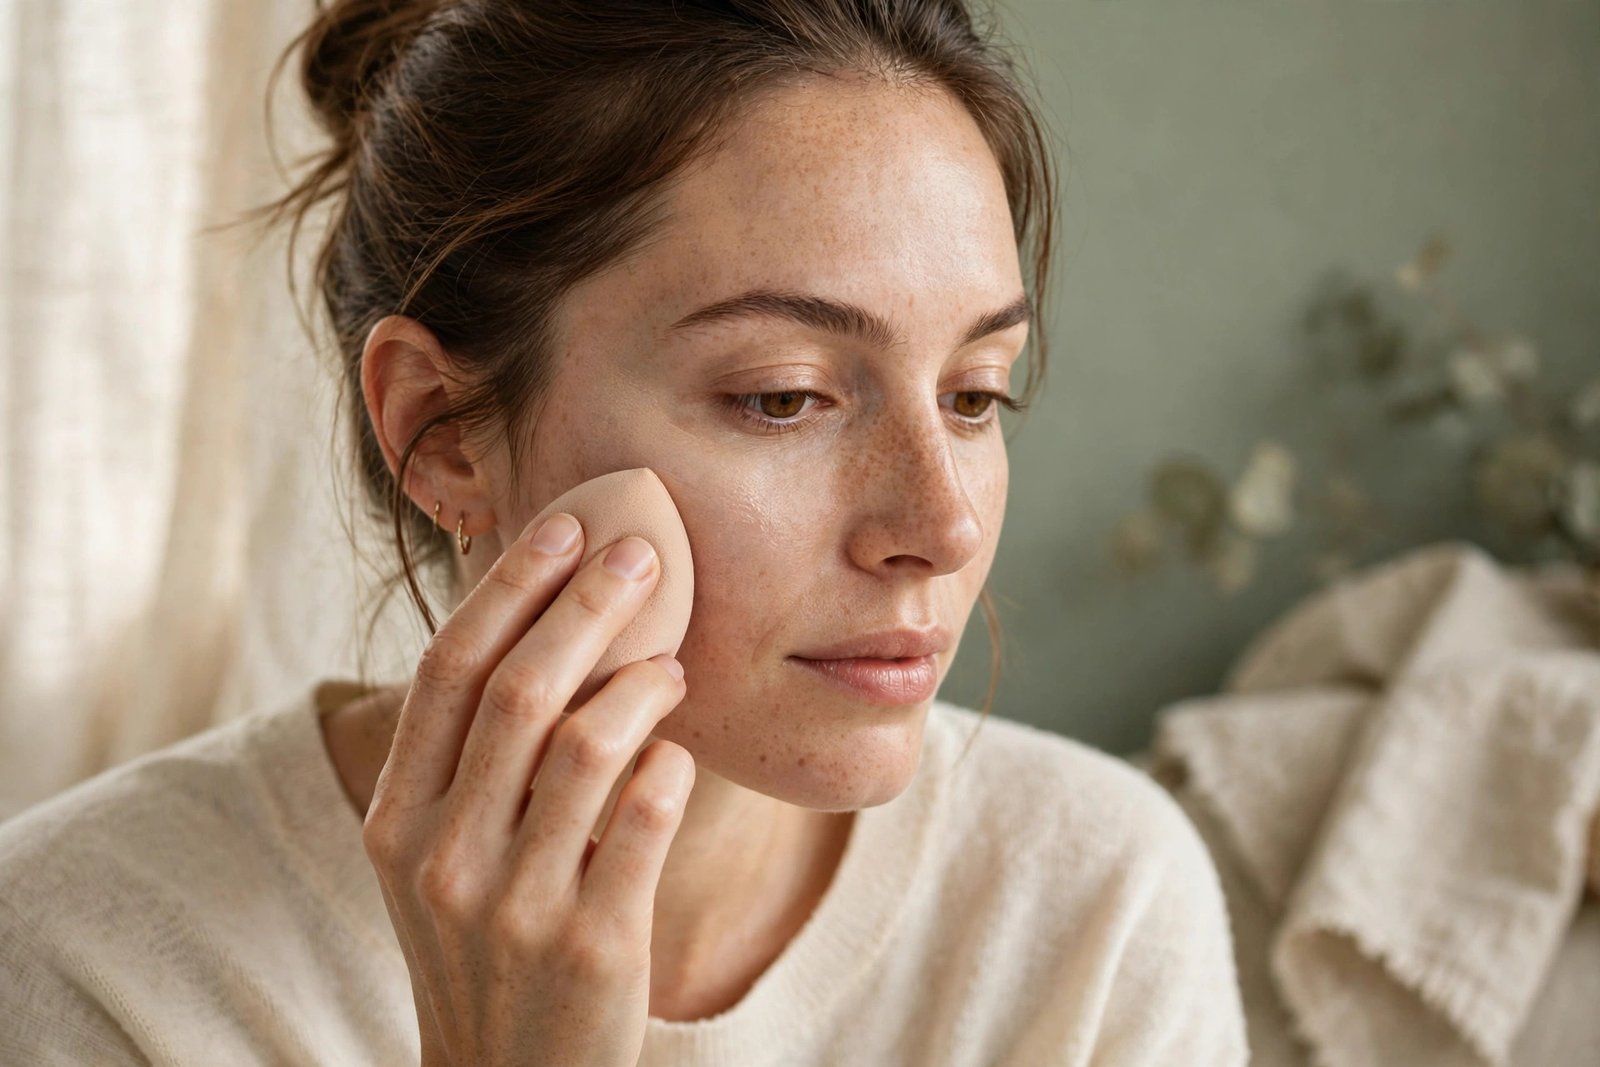
A sheer, skin-like base evens your tone while letting your real skin show through. Reach for a tinted moisturizer, a skin tint, or a few drops of foundation mixed into your moisturizer on the back of your hand. Apply it where you need it most, usually the center of the face where redness gathers, and blend outward with fingers, a damp sponge, or a brush, using far less at the edges. Your freckles and moles should still be visible; covering them completely is what tips natural makeup into obvious makeup. Build a second thin layer only where you want more coverage, instead of starting thick everywhere.
4. Conceal only where it is needed
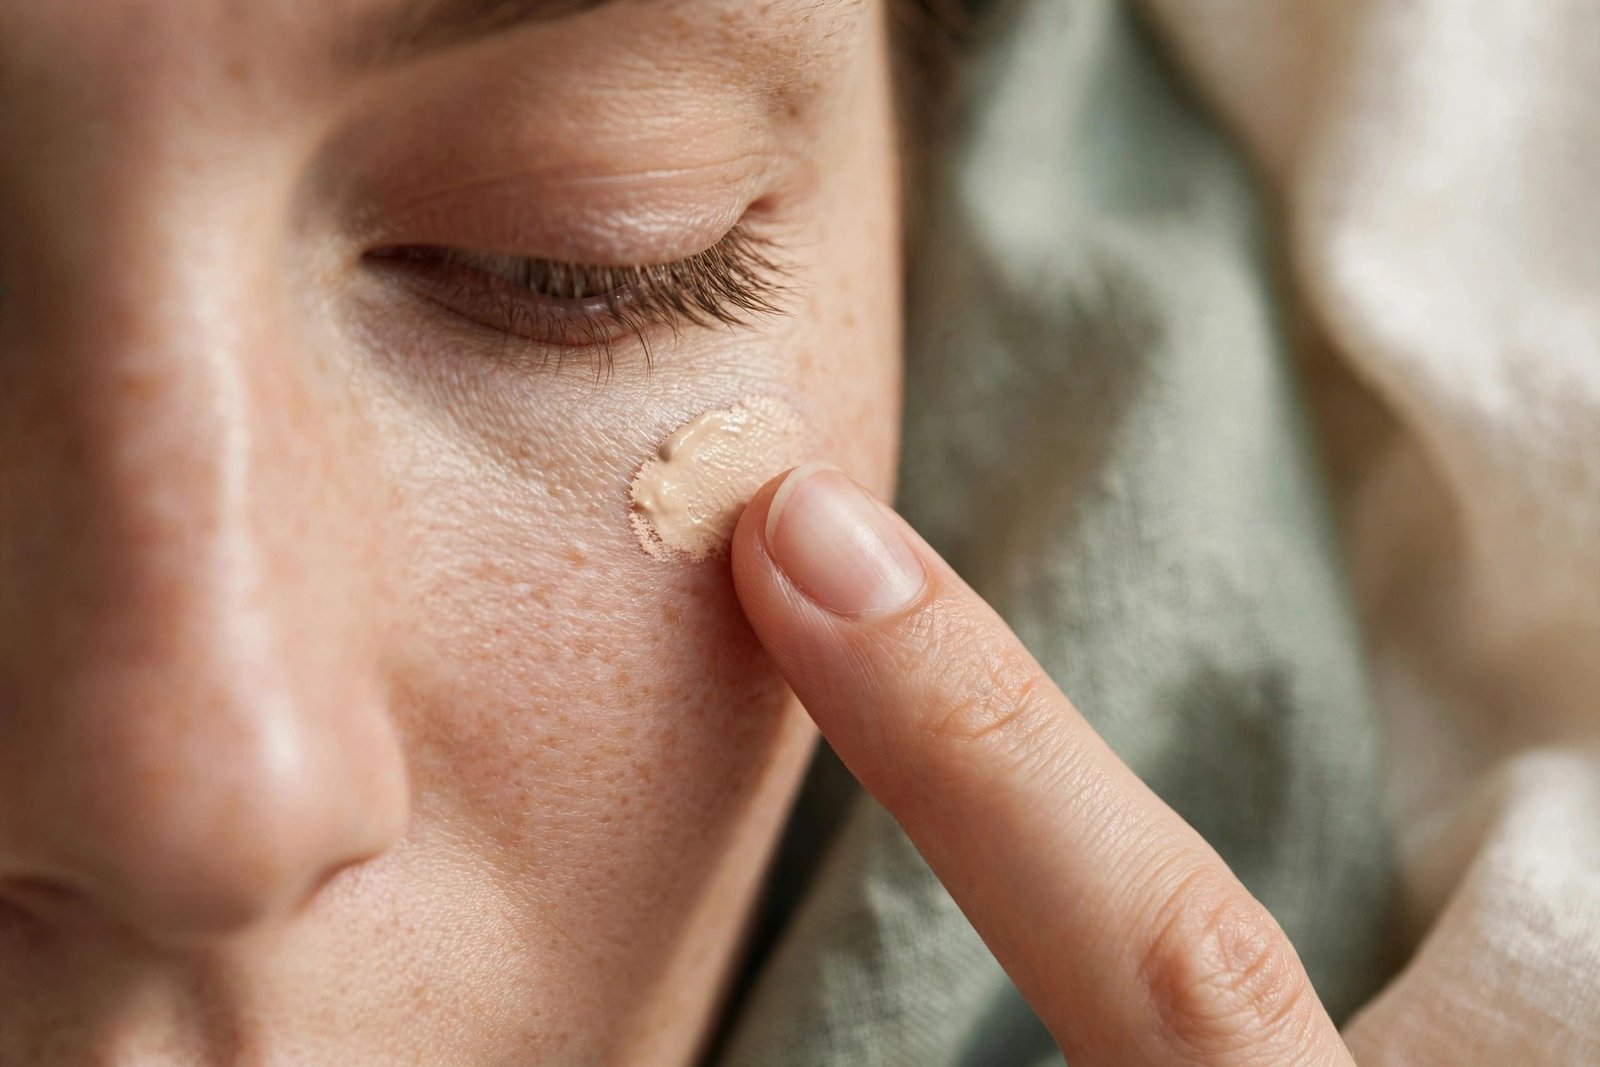
Concealer used as a spot treatment, not a second foundation, is what keeps this look believable. Dot it under the eyes in the darkest part of the shadow, on any blemish, and around the nose if redness shows there. Then tap it in with a fingertip or sponge until the edge disappears; the warmth of your finger helps it melt into the base. Choose a shade that matches your skin for blemishes and one only slightly brighter for under the eyes, since a much lighter shade reads as obvious circles in daylight. Blend, step back, and add more only if you still see the spot at arm’s length.
5. Add cream blush and a whisper of bronzer
Cream blush placed high on the cheeks gives the healthy flush that makes natural makeup look alive. Smile lightly, dab two or three dots on the apples of your cheeks, and blend upward toward your temples with fingers or a sponge; cream formulas melt in and never look powdery or stripey. Then take a small amount of bronzer on a fluffy brush and dust it where the sun would land first: the forehead edges, the tops of the cheeks, and a touch across the nose. Keep both colors soft and buildable. You are imitating good circulation and a walk outside, not sculpting a new bone structure.
6. Groom your brows and lift your lashes
Neat brows and curled, mascaraed lashes frame the face more powerfully than any eyeshadow in a natural look. Brush your brows upward with a spoolie, fill only the sparse gaps with short, hair-like strokes, and set them with a clear or tinted brow gel. Then curl your lashes, which opens the eyes instantly, and apply one coat of mascara, wiggling the wand at the roots and pulling through. Concentrate on the upper lashes; a single light coat on the lower lashes is optional and can be skipped entirely if yours tend to smudge. Skip eyeliner, or keep it to a soft line pressed into the upper lash roots with a dark shadow.
7. Finish with a tinted lip and a light set
A tinted lip product in a shade close to your own lips completes the illusion that you are simply well rested. Choose a tinted balm, a sheer lipstick, or a lip tint in a tone one step deeper or rosier than your natural lip color, and press it in with a fingertip for a stained, effortless finish rather than a precise outline. Finally, if your skin tends to shine by midday, dust the faintest amount of powder through your T-zone only, or mist a setting spray from arm’s length. Leave the cheeks and the bridge of the nose unpowdered; a little real glow is what sells the whole look.
Tips
- Do this makeup near a window if you can; natural daylight is the honest mirror this look is designed for.
- Match your base shade to your jawline in daylight, not to your hand under shop lighting, to avoid a visible line.
- Cream products almost always look more like skin than powders for this style, especially on dry or mature skin.
- If you think you need more of something, wait five minutes; makeup settles and often looks perfect once it warms into the skin.
Ten minutes, seven steps, and you look like yourself on your best day rather than like someone wearing a full production. The base starts with good skincare, so pair this routine with our 10-minute morning skincare routine for the full sequence, and finish with one of the K-beauty lip products people actually repurchase when you want that tinted final step to last beyond your first coffee.